Whether you’re making backups or just adding extra space to your computer, hard drive docking stations make it easy to connect any generic hard drive on the market to your computer. But not all docking stations are created equal—different models can provide radically different features.
Docking Station Connection Protocol
There are two main ways to connect a docking station to your computer—directly using something like USB or eSATA, or indirectly using either wired or wireless networking. Each of these methods has a key advantage and disadvantage.
Direct connections are faster. USB 3.0 supports up to 625 megabytes per second (MB/s), which is about the maximum disk drive speed available from the fastest consumer-grade solid state drives. Network connections are much slower: wired gigabit networking can only provide a max speed of a bit over 100 MB/s, and wireless-N networking currently peaks at around 75 MB/s. Note, though, that traditional magnetic hard drives are only a little faster than about 100 MB/s, so it doesn’t matter too much which connection you use with them.
Network connections are more convenient. Multiple computers can access the same files over the network, including mobile devices which you would not normally connect to a USB docking station. Having a wireless network docking station also means you don’t have to keep it on your desk, freeing up space and getting rid of a potential eyesore.
A more minor consideration is that wireless connections tend to cost a bit more than direct connections or even wired connections, although the price difference these days is not that significant.
Direct Docking Station Connections
There are two widely-available direct connections for new docking stations, USB 3.0 and eSATA. Almost all docking stations support USB 3.0 and some also support eSATA. Unless you know you’ll need eSATA to support an older computer, you should be just fine with just USB 3.0 support. (But make sure you have a USB 3.0 cable—if you use a USB 2.0 cable with your docking station, you won’t get the full speed.)
Number Of Drive Bays
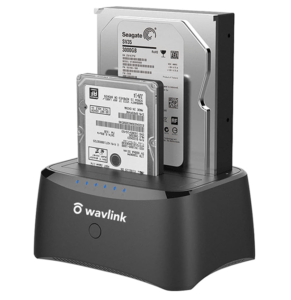
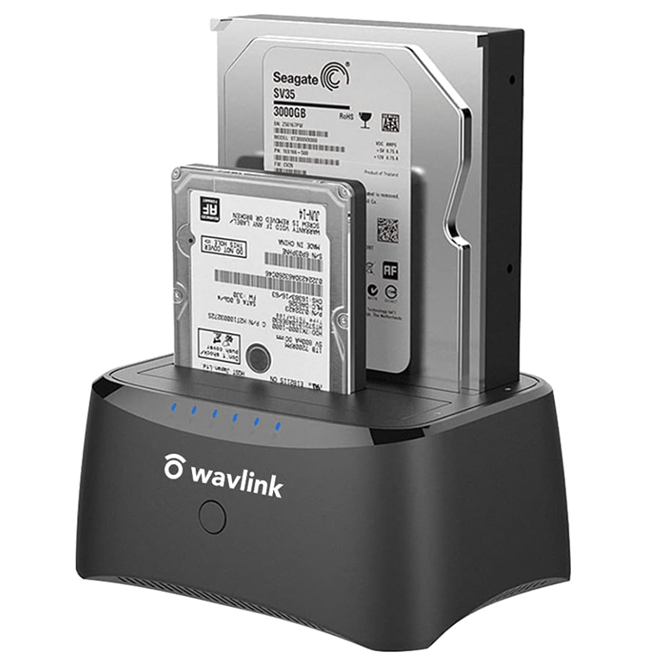
Most docking stations come with either one or two drive bays, although a handful come with three or more. Watch out, some of models with two different-sized drive bays will only support one drive at a time.
The main concern with multiple drive bays is speed—because the docking station only has one direct or network connection, all drives have to share that connection. For example, if you have two drives sharing a 75 MB/s wireless-N connection, the max speed of both drives being used at the same time is less than 40 MB/s per drive. However, it’s fairly rare to use two separate drives at max speed at the same time.
A nice benefit of some higher-end docking stations with multiple drive support is that they support hardware Redundant Arrays Of Inexpensive Disks (RAID), which is a powerful automatic data-protection mechanism. With the most common form of RAID, RAID-1, you put two drives in the docking station and it copies every bit of data to both drives, so if one drive fails, the other drive has a complete copy and you don’t lose any data.
Configuration Tools
Drive bays that directly connect to your computer should come configured by default to simply connect the drive you insert in the bay to your computer. These drive bays may include special configuration tools, but if you use a Mac or Linux, make sure the configuration tool runs on your system.
Drive bays that connect over the network usually have a built-in tiny web server, so all you have to do is browse to the docking station’s local IP address and use your browser to change the various settings. This is much more convenient, as you can configure it even with a mobile phone or tablet.
Typical options in a network drive bay include what filesystem type to use (such as FAT or NTFS), permissions to prevent certain users from accessing or modifying particular files, as well as RAID configuration options.
Drive Size
Although it’s absolutely critical, the easiest thing to consider about buying a drive bay is what size drive it holds. Drives come in a 2.5-inch size meant for laptops and a 3.5-inch size meant for desktops. Some drive bays take both sizes, and if you get a 3.5-inch bay you can always buy a $13 adapter that converts 2.5-inch drives into the 3.5-inch size. (Obviously, you can’t make a 3.5-inch drive fit in a 2.5-inch slot.)
Unless you really need a 2.5-inch drive bay, I highly recommend a 3.5-inch bay. The 3.5-inch drives are cheaper per gigabyte and probably always will be, so you’ll get a better deal.
Shape
There are no important considerations about shape when it comes to drive bays, so buy whatever model you think looks attractive. The exception is if you plan to change drives quite frequently—I find models with top-loading slots that look like toasters make it easy to add and remove drives, while the lay-flat drive bays tend to require extra work to remove the drive.
On the other hand, if you plan to carry your drive bay with the drive still inside, you may want a drive bay that has screw holes for mounting your drive inside. However, this brings us to drive enclosures, which are a different thing than drive bays.
Conclusion
Drive bays are a pretty easy purchase: the main thing to consider is whether to use a direct connection or a network connection. From there, decide whether you want RAID support or not, and everything else should fall into place naturally. Check out the latest hard drive docking stations on Amazon.


