When you install new software, it often defaults to starting up automatically when you log in to your computer. This can significantly slow down your computer system’s boot time. In this guide, we’ll show you how to disable startup programs using the msconfig command, making your computer start faster and run more efficiently. We’ll also include instructions for Windows 11.
Why Disable Startup Programs?
Improve Boot Time and System Performance
Will my computer run faster if I disable programs from starting? Yes, it will. Disabling unnecessary startup programs can significantly reduce your computer’s boot time. The fewer programs that need to start, the quicker your computer will be ready for use. If your system takes a long time to boot, too many startup programs could be the culprit.
Reduce System Load
Programs that start with your computer often check for updates every time you log in, consuming valuable system resources. While it’s crucial to keep your operating system and antivirus software updated, other programs can be safely disabled to free up resources and improve performance.
How to Use the Msconfig Command to Disable Startup Programs
Msconfig is a system utility that helps you manage startup programs and troubleshoot configuration errors. Follow these steps to disable programs from starting up on various Windows versions, including Windows 11.
Steps for Windows XP, Vista, 7, 8, 10, and 11
- Open the Run Dialog Box
- Press the
WIN KEY + Rto open the Run dialog box.
- Press the
- Type in msconfig
- In the Run box, type
msconfigand press Enter. This will open the System Configuration utility.
- In the Run box, type
- Navigate to the Startup Tab
- Click on the
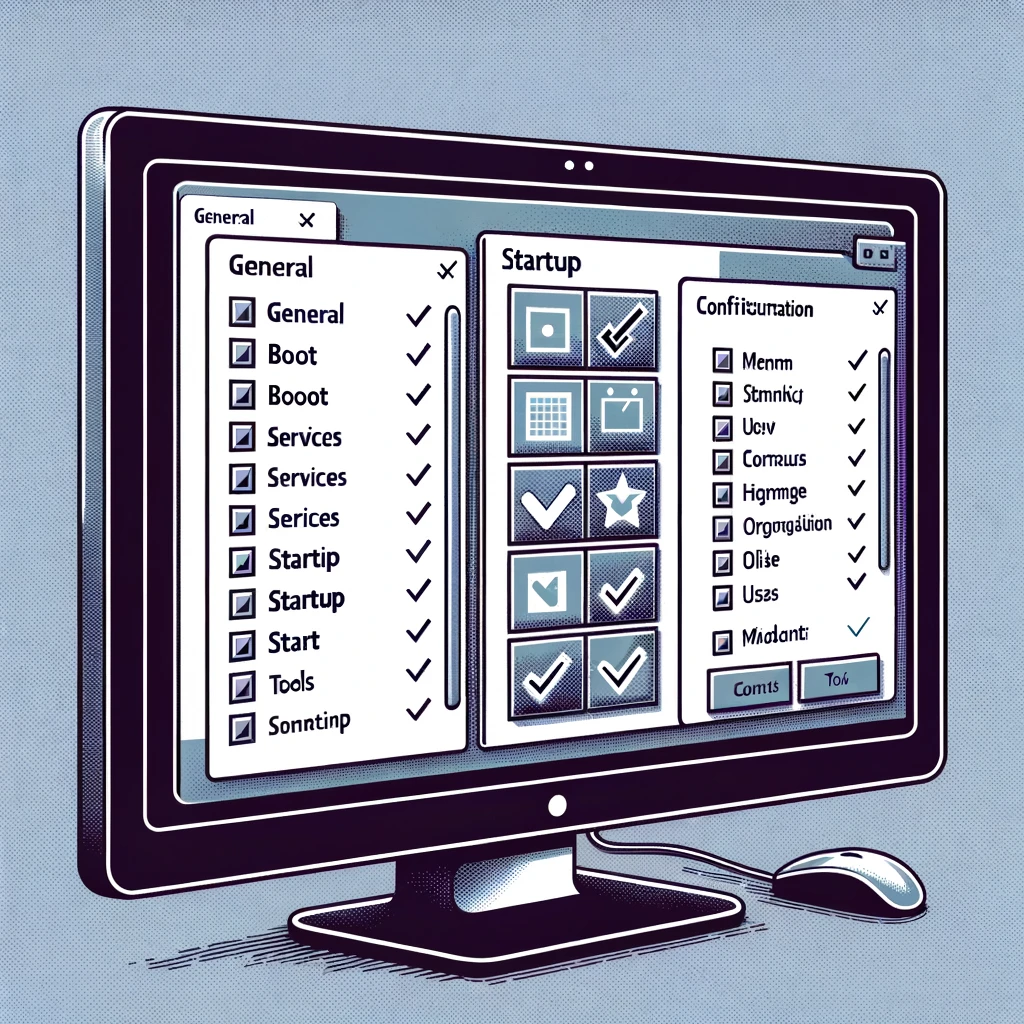
Startuptab. Here you will see a list of programs that start when your computer boots.
- Click on the
- Disable Unnecessary Programs
- Uncheck the boxes next to the programs you don’t want to start automatically. Be cautious and ensure you know what each program does before disabling it.
- Apply and Restart
- Click
Apply, thenOK. You will be prompted to restart your computer for the changes to take effect.
- Click
How to Disable Startup Programs in Windows 11
- Open Task Manager
- Right-click on the Taskbar and select
Task Manager, or pressCtrl + Shift + Esc.
- Right-click on the Taskbar and select
- Go to the Startup Tab
- In Task Manager, navigate to the
Startuptab.
- In Task Manager, navigate to the
- Disable Unnecessary Programs
- Select the program you want to disable and click
Disableat the bottom right corner.
- Select the program you want to disable and click
- Restart Your Computer
- Restart your computer to apply the changes.
Programs You Should Not Disable
While disabling startup programs can enhance performance, some programs are crucial for system security and functionality. Avoid disabling the following:
- Antivirus Software: Essential for protecting your system from malware and viruses.
- Firewall: Critical for network security.
- Windows Updates: Necessary for keeping your system secure and up-to-date.
- Device-Specific Software: Programs related to printers, scanners, and other peripherals.
Additional Tools for Managing Startup Programs
Windows Boot Disc
A Windows boot disc can help you troubleshoot and repair startup issues. It can also be used to access the System Configuration utility if your computer is having trouble booting.
Check Disk Utility
Running the Check Disk utility (chkdsk) can help identify and fix file system errors that might be affecting your startup processes. To run Check Disk:
- Open Command Prompt as Administrator
- Type
cmdin the search bar, right-click on Command Prompt, and selectRun as administrator.
- Type
- Run Check Disk
- Type
chkdsk /fand press Enter. You may need to restart your computer to allow Check Disk to run.
- Type
Notes on Using Msconfig
- Speed Boost: Disabling unnecessary startup programs will speed up your computer’s boot time.
- Caution Required: Disabling the wrong program can cause system errors. Ensure you understand what each program does before disabling it.
- Reversing Changes: You can easily re-enable programs by accessing msconfig again and checking the boxes next to the programs you want to start automatically.
Locating the Startup Folder in Different Versions of Windows
The Startup folder in Windows allows you to manage programs that start automatically when your computer boots up. Here’s how to find the Startup folder in various versions of Windows:
Windows XP
- Open Start Menu
- Click on the
Startbutton.
- Click on the
- Navigate to All Programs
- Click on
All Programs.
- Click on
- Find Startup Folder
- Scroll down to find the
Startupfolder.
- Scroll down to find the
Path: C:\Documents and Settings\<User Name>\Start Menu\Programs\Startup
Windows Vista and Windows 7
- Open Start Menu
- Click on the
Startbutton.
- Click on the
- Navigate to All Programs
- Click on
All Programs.
- Click on
- Find Startup Folder
- Scroll down to find the
Startupfolder.
- Scroll down to find the
Path: C:\Users\<User Name>\AppData\Roaming\Microsoft\Windows\Start Menu\Programs\Startup
Windows 8 and Windows 8.1
- Open Run Dialog Box
- Press
WIN KEY + Rto open the Run dialog box.
- Press
- Type the Path
- Type
shell:startupand press Enter.
- Type
Path: C:\Users\<User Name>\AppData\Roaming\Microsoft\Windows\Start Menu\Programs\Startup
Windows 10
- Open Run Dialog Box
- Press
WIN KEY + Rto open the Run dialog box.
- Press
- Type the Path
- Type
shell:startupand press Enter.
- Type
Path: C:\Users\<User Name>\AppData\Roaming\Microsoft\Windows\Start Menu\Programs\Startup
Windows 11
- Open Run Dialog Box
- Press
WIN KEY + Rto open the Run dialog box.
- Press
- Type the Path
- Type
shell:startupand press Enter.
- Type
Path: C:\Users\<User Name>\AppData\Roaming\Microsoft\Windows\Start Menu\Programs\Startup
How to Add or Remove Programs from the Startup Folder
Adding a Program
- Locate the Executable File
- Find the executable file (
.exe) of the program you want to add to startup.
- Find the executable file (
- Copy the File
- Right-click on the executable file and select
Copy.
- Right-click on the executable file and select
- Open Startup Folder
- Navigate to the Startup folder as described above.
- Paste the Shortcut
- Right-click in the Startup folder and select
Paste shortcut.
- Right-click in the Startup folder and select
Removing a Program
- Open Startup Folder
- Navigate to the Startup folder as described above.
- Delete the Shortcut
- Right-click on the shortcut you want to remove and select
Delete.
- Right-click on the shortcut you want to remove and select
Additional Tips
- Using Task Manager: In Windows 8, 8.1, 10, and 11, you can also manage startup programs via Task Manager. Right-click on the taskbar, select
Task Manager, go to theStartuptab, and enable or disable programs. - Using Msconfig: As described earlier, you can also use the
msconfigcommand to manage startup programs.
Conclusion
Disabling unnecessary startup programs using msconfig or Task Manager can significantly improve your computer’s performance and is a significant part of necessary computer maintenance. By following the steps outlined in this guide, you can ensure your system starts faster and runs more efficiently. Always be cautious when making changes to your system configuration and keep essential programs enabled for security and functionality.


Great tip!
I thought my tuneup program fixed all of this for me, but I just checked msconfig and found 3 programs that I could uncheck.
Can I uncheck “adobe acrobat” and “Adobe reader and Acrobat manager” as well?
Thanks Mitz!