
Step-by-Step Tutorial: How to Use Google Docs
00:00 – Introduction
Welcome to your beginner’s guide to Google Docs! In this tutorial, we’ll walk you through everything you need to know to create, edit, share, and manage your documents efficiently using Google Docs. You can either watch the video below or read the step by step instructions.
01:50 – Start a New Blank Document
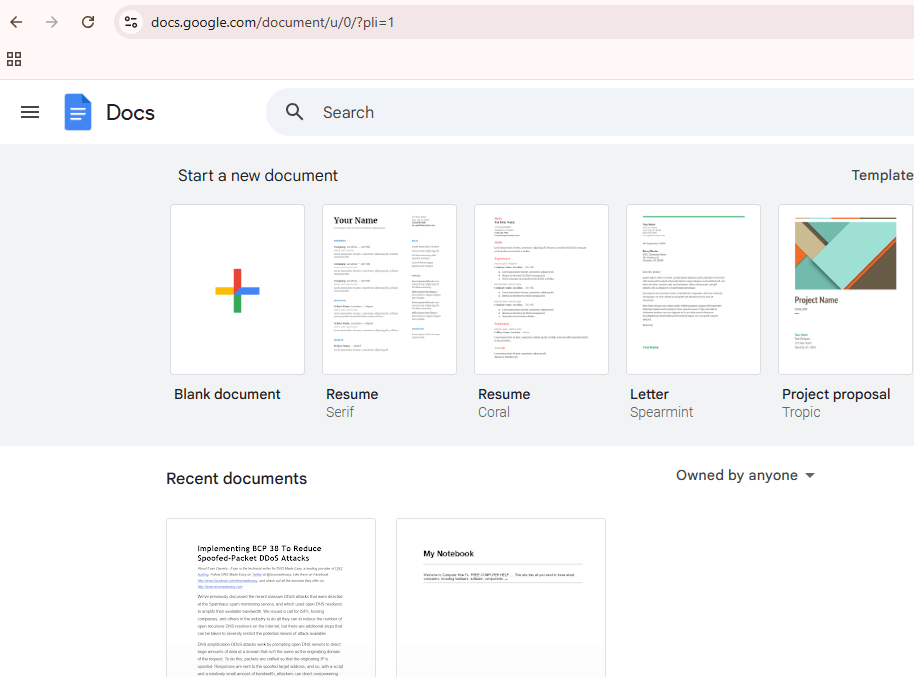
- Open Google Docs in your browser or via the Google Drive app.
- Click on the “Blank” option to start a new, empty document.
- This creates your canvas for writing and editing.
02:20 – Basic Tasks: Insert a Table, Image, and Drawing
- Insert a Table:
- Go to the “Insert” menu, select “Table,” and choose the number of rows and columns you need.
- Insert an Image:
- Click “Insert” → “Image” and choose where to source your image (upload from computer, Google Drive, or via URL).
- Insert a Drawing:
- Click “Insert” → “Drawing” → “+ New” to open the drawing tool.
- Create your drawing, save, and it will be inserted into your document.
03:40 – Auto-Saving Your Work
- Google Docs automatically saves your work as you type.
- Look for the “All changes saved in Drive” notification at the top of your document to confirm your progress is secure.
03:46 – Naming Your Document
- At the top-left, click on “Untitled document” to rename your file.
- Type a descriptive name that will help you locate it later.
04:30 – Downloading a Document to Your Computer
- Click on “File” in the top menu.
- Hover over “Download” and choose your desired file format (such as PDF, DOCX, or TXT).
- The file will then download to your computer.
04:58 – Using a Template from the Template Gallery
- Instead of starting blank, click on “Template gallery” at the top-right of the Google Docs homepage.
- Browse and select a template that suits your needs.
- The chosen template will open as a new document that you can customize.
05:50 – Moving a Document to the Rubbish Bin
- In Google Drive, locate the document you want to delete.
- Right-click on it and select “Remove” (or click the trash bin icon).
- The document is now moved to your Google Drive’s rubbish bin.
06:16 – Opening a Document from Recent Documents
- On the Google Docs homepage, you’ll see a list of your recent documents.
- Simply click on any document from the list to open it quickly.
07:10 – Uploading a Document Stored on Your Computer
- In Google Drive, click on “New” → “File upload.”
- Select the document from your computer.
- Once uploaded, you can open it in Google Docs for editing.
08:38 – Printing a Document in Google Docs
- Open the document you want to print.
- Click on “File” → “Print” or press Ctrl + P (Cmd + P on Mac).
- Adjust the print settings as needed and print your document.
08:45 – Sharing a Document with Others
- Click the “Share” button at the top-right of your document.
- Enter the email addresses of the people you want to share with and choose their permission level (Viewer, Commenter, or Editor).
- Click “Send” to share.
09:50 – Getting a Shareable Link for Your Document
- In the “Share” window, click “Copy link.”
- Adjust the link settings (e.g., “Anyone with the link can view”) if necessary.
- Share this link via email or social media.
11:15 – Checking the Sharing Status
- If someone can’t access your document, revisit the “Share” settings.
- Ensure that the appropriate permissions are set (e.g., link sharing is enabled or specific people have been granted access).
12:00 – Downloading in Different File Types
- To save your document in various formats, click “File” → “Download.”
- Choose from options like PDF, DOCX, or TXT depending on your needs.
13:13 – Boost Your Productivity with Google Docs: Essential Keyboard Shortcuts for Voice Typing & Word Count
- Keyboard shortcuts can significantly boost your productivity in Google Docs. Here are some essential shortcuts—including a few advanced tips on voice typing and checking word count:
- Basic Text Formatting:
- Bold: Press Ctrl + B (or Cmd + B on Mac) to quickly bold selected text.
- Italic: Press Ctrl + I (or Cmd + I) for italics.
- Underline: Use Ctrl + U (or Cmd + U) to underline text.
- Inserting Elements:
- Hyperlink: Press Ctrl + K (or Cmd + K) to open the hyperlink dialog and easily add or edit links.
- Editing and Navigation:
- Undo/Redo:
- Undo changes with Ctrl + Z (or Cmd + Z).
- Redo with Ctrl + Y (or Cmd + Shift + Z on Mac).
- Find: Quickly locate text in your document by pressing Ctrl + F (or Cmd + F).
- Undo/Redo:
- Word Count:
- To check the word count, press Ctrl + Shift + C (or Cmd + Shift + C on Mac). This opens a small dialog box displaying the number of pages, words, characters, and characters excluding spaces.
- Starting Voice Typing:
- Press Ctrl + Shift + V to open the voice option.
- You can also quickly access it by:
- Press Alt + T (or navigate using the keyboard by pressing Alt, then use the arrow keys to open the Tools menu).
- Use the arrow keys to select Voice typing… and hit Enter.
- Once the Voice typing sidebar appears, click the microphone icon (or press a custom-assigned shortcut if you’ve set one up using third-party tools).
- This feature lets you dictate your text hands-free, which can be a huge time-saver for lengthy documents.
- Using these shortcuts regularly can make your Google Docs workflow faster and more efficient, whether you’re formatting text, navigating your document, checking the word count, or even dictating your content via voice typing. Happy creating!
By following these step-by-step instructions, you’ll become proficient in using Google Docs to create, manage, and share your documents effortlessly. Happy document creating!
