Connecting and using external devices such as USB devices, printers, scanners, and external hard drives on Windows 11 is straightforward. This tutorial will guide you through the process of connecting, installing, and setting up these devices.
1. Connecting USB Devices
Step-by-Step Instructions:
- Locate the USB Port:
- Identify an available USB port on your computer. USB ports are typically found on the sides of laptops and the front or back of desktop computers.
- Plug in the Device:
- Insert the USB connector of your device (e.g., flash drive, keyboard, mouse) into the USB port. Ensure it is firmly connected.
- Automatic Installation:
- Windows 11 usually recognizes USB devices automatically and installs the necessary drivers. You will see a notification when the device is ready to use.
- Access the Device:
- For storage devices like USB flash drives, open File Explorer by pressing
Windows + Eand click on the drive under “This PC.”
- For storage devices like USB flash drives, open File Explorer by pressing
2. Connecting Printers
Step-by-Step Instructions:
- Prepare the Printer:
- Ensure your printer is powered on and connected to the same network as your computer (if it’s a network printer) or connect it via USB.
- Open Settings:
- Press
Windows + Ito open the Settings app.
- Press
- Navigate to Bluetooth & Devices:
- Click on “Bluetooth & devices” from the left-hand menu.
- Add Printer:
- Select “Printers & scanners” and click “Add device.”
- Select Your Printer:
- Windows will search for available printers. Select your printer from the list and follow the on-screen instructions to complete the installation.
3. Connecting Scanners
Step-by-Step Instructions:
- Prepare the Scanner:
- Ensure your scanner is powered on and connected to your computer via USB or network.
- Open Settings:
- Press
Windows + Ito open the Settings app.
- Press
- Navigate to Bluetooth & Devices:
- Click on “Bluetooth & devices” from the left-hand menu.
- Add Scanner:
- Select “Printers & scanners” and click “Add device.”
- Select Your Scanner:
- Windows will search for available scanners. Select your scanner from the list and follow the on-screen instructions to complete the installation.
- Using the Scanner:
- Open the “Windows Scan” app from the Start menu to begin scanning documents.
4. Connecting External Hard Drives
Step-by-Step Instructions:
- Locate the USB Port:
- Identify an available USB port on your computer.
- Connect the External Hard Drive:
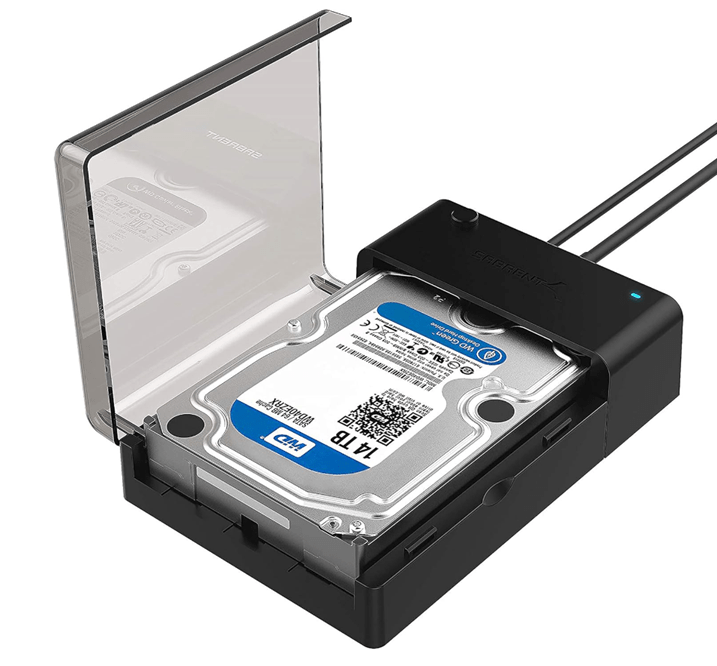
- Plug the USB cable from the external hard drive into the USB port on your computer.
- Automatic Installation:
- Windows 11 will automatically recognize the external hard drive and install the necessary drivers. You will see a notification when the device is ready to use.
- Access the External Hard Drive:
- Open File Explorer by pressing
Windows + Eand click on the drive under “This PC.”
- Open File Explorer by pressing
Important Considerations
- Driver Installation:
- Ensure that Windows updates are enabled to download and install the latest drivers for your devices automatically.
- Device Ejection:
- Always safely eject storage devices like USB flash drives and external hard drives to prevent data loss. Click on the “Safely Remove Hardware and Eject Media” icon in the system tray and select your device.
- Network Devices:
- For network printers and scanners, ensure your computer and device are connected to the same network.
- Check Compatibility:
- Verify that your external device is compatible with Windows 11. Check the device manufacturer’s website for any specific drivers or software updates required for Windows 11.
Conclusion
By following these steps, you can easily connect and use various external devices with your Windows 11 computer. Whether you’re connecting USB devices, printers, scanners, or external hard drives, Windows 11 offers a seamless experience for device installation and setup.


