In this tutorial, you’ll learn how to create a basic Chrome extension that adds a simple feature to your browser. As a starting point, we’ll create a simple extension that creates a homepage so when you open your browser, you’ll see this page. I have added my favourite links, a search bar, and a to do list.

Step 1: Create a New Folder for Your Google Extension
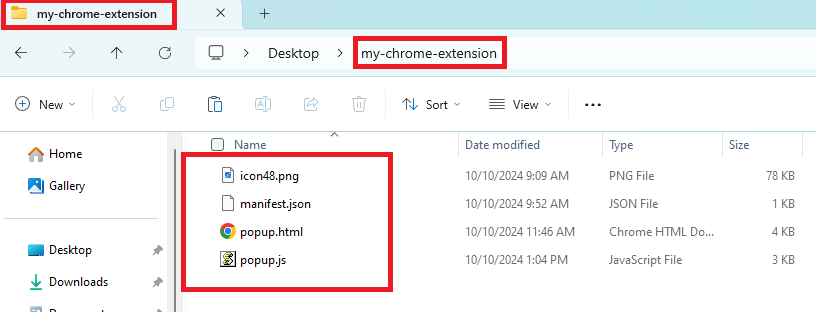
- Create a new folder on your computer and name it something like
my-chrome-extension. - This folder will contain all the files needed for your extension.
Step 2: Create the Manifest File
- Inside your extension folder, create a new file named
manifest.json. - Add the following code to the file:
{ "manifest_version": 3, "name": "Background Color Changer", "version": "1.0", "description": "A simple extension to change the background color of any webpage.", "permissions": ["activeTab"], "action": { "default_popup": "popup.html", "default_icon": "icon.png" } } - Explanation:
"manifest_version": 3: Specifies that we are using Manifest V3, the latest version for Chrome extensions."name"and"version": The name and version of your extension."permissions": Grants the extension the ability to interact with the current tab."action": Defines the behavior and user interface of the extension.
Step 3: Create the Popup HTML File
- Inside your extension folder, create a new file named
popup.html. - Add the following code:
<!DOCTYPE html> <html> <head> <title>Background Color Changer</title> <style> body { width: 200px; font-family: Arial, sans-serif; } button { padding: 10px; margin: 5px; width: 180px; } </style> </head> <body> <h3>Change Background Color</h3> <button id="changeColor">Change Color</button> <script src="popup.js"></script> </body> </html> - Explanation:
- This file creates a simple popup with a button that will appear when you click the extension icon.
Step 4: Create the JavaScript File
- Inside your extension folder, create a new file named
popup.js. - Add the following code:
document.getElementById("changeColor").addEventListener("click", () => { chrome.tabs.executeScript({ code: 'document.body.style.backgroundColor = "lightblue";' }); }); - Explanation:
- This script adds a click event to the button, which changes the background color of the active tab to light blue when clicked.
Step 5: Add an Icon (Optional)
- You can add an icon to your extension by placing an
icon.pngfile inside your extension folder. Make sure it’s a 48×48 pixels image. - Update the
"default_icon"field in yourmanifest.jsonif you decide to add your custom icon.
Step 6: Load Your Google Extension in Chrome
- Open Google Chrome and go to the following URL:
chrome://extensions/ - Enable Developer mode by toggling the switch in the top-right corner.
- Click the “Load unpacked” button.
- Select the folder where you saved your extension (the
my-chrome-extensionfolder). - Your extension should now be installed and visible in the toolbar!
Step 7: Test Your Chrome Extension
- Click on the extension icon in the Chrome toolbar.
- A popup should appear with the button you created.
- Click the “Change Color” button, and the background color of the current webpage should change to light blue.
Step 8: (Optional) Modify Your Extension
- You can modify the code in the
popup.jsfile to perform other actions or add more buttons to yourpopup.htmlfor additional features. - Every time you make a change to your extension files, reload the extension from the
chrome://extensions/page by clicking the reload button.
Here is a video showing how to create a Google Chrome Extension for a customized home page.
Conclusion
You’ve now created a basic Chrome extension that changes the background color of any webpage! This is just a starting point, and you can expand on this by adding more features and functionalities.
If you like this tutorial you might also like How to create a WordPress Plugin from scratch.